How to get Current Controller name in Prestashop template?

How to get Current Controller name in Prestashop template?

To get Current Controller name in Prestashop template, you just have to study some smarty variable. Click here to know more about Reseverd smarty variables.

See url structure of prestashop, some of data passed through GET method.

E.g. http://prestashopExample.com/index.php?id_category=4&controller=category&id_lang=1

In above example, we can see Controller category is passed though Get Method. Prestashop uses Smarty template engine for views. Designer or developer working on template can only use PHP code, if allowed. To get data passed through URL see below example taken from documentation of Smarty.

{* display value of page from URL ($_GET) http://www.example.com/index.php?page=foo *}
{$smarty.get.page}

{* display the variable "page" from a form ($_POST['page']) *}
{$smarty.post.page}

I think You are now clear about what to do, to get Current Controller name in Prestashop template

To display controller name from URL ($_GET) http://prestashopExample.com/index.php?id_category=4&controller=category&id_lang=1

{$smarty.get.controller}

Or you can assign a variable to store name of controller

{assign var='controllerName' value=$smarty.get.controller}

& can use for different purpose, Like  to print 

{$controllerName}

, to compare 

{if $controllerName == 'cms'} condition{/if}

This is very simple trick I used while working first time on Prestashop. You can use this trick to create different template looks in prestashop using controller name.

Please make comments if you have any queries and share & give feedback if you have found useful.

.COM Domains @ Rs 99

.COM Domains @ Rs 99

Get New domain yourdomain.com @Rs. 99

No Hidden Costs includes Free DNS Free Privacy Protect & 2 Email A/Cs

Want to start your own website, then for what you are waiting ….

Bigrock is famous for lowest rate domains and greatest support ever for their customers. Great discount offer from Bigrock, to start your own website. Click here & get your own domain right now only for Rs. 99.

This limited time offer is valid only for new registrations and .com domains.

  1. So just follow above link.
  2. Search your Domain.
  3. Go to check out page.
  4. Complete sign up process. Coupon code will added to cart automatically. Only valid for new customers.
  5. & you will get your domain only for Rs. 99.
  6. Pay your bill via Cash, Cheque, Demand draft, Net banking or Debit/Credit cards.

***Hurry!!! This is limited time offer.

Get it now

***Discounted rates for first year only

We have new offer for you on this Christmas. Click here to grab this offer.

Free dot com domain and 10% off on hosting

Free dot com domain and 10% off on hosting

.COM Domains @ Rs 159

.COM Domains @ Rs 159

Get New domain yourdomain.com @Rs. 159

No Hidden Costs includes Free DNS Free Privacy Protect & 2 Email A/Cs

Want to start your own website, then for what you are waiting ….

Bigrock is famous for lowest rate domains and greatest support ever for their customers. Great discount offer from Bigrock, to start your own website. Click here & get your own domain right now only for Rs. 159.

This limited time offer is valid only for new registrations and .com domains.
  1. So just follow above link.
  2. Search your Domain.
  3. Go to check out page.
  4. Complete sign up process. Coupon code will added to cart automatically. Only valid for new customers.
  5. & you will get your domain only for Rs. 159.
  6. Pay your bill via Cash, Cheque, Demand draft, Net banking or Debit/Credit cards.

***Hurry!!! This is limited time offer.

Get it now

***Discounted rates for first year only

We have new offer for you on this Christmas. Click here to grab this offer.

Free dot com domain and 10% off on hosting

Free dot com domain and 10% off on hosting

Add filter to Admin list for all custom post types by their custom taxonomies

Add filter to Admin list for all custom post types by their custom taxonomies

Adding filter to every custom post type by giving its taxonomy every time increases code length.

Also I posted on stackexchange


add_action( 'restrict_manage_posts', 'my_restrict_manage_posts' );

function my_restrict_manage_posts() {
    global $typenow, $post, $post_id;

	if( $typenow != "page" && $typenow != "post" ){
		//get post type
		$post_type=get_query_var('post_type'); 
	
		//get taxonomy associated with current post type
		$taxonomies = get_object_taxonomies($post_type);
	
		//in next loop add filter for tax
		if ($taxonomies) {
			foreach ($taxonomies as $tax_slug) {
				$tax_obj = get_taxonomy($tax_slug);
				$tax_name = $tax_obj->labels->name;
				$terms = get_terms($tax_slug);
				echo "<select name='$tax_slug' id='$tax_slug' class='postform'>";
				echo "<option value=''>Show All $tax_name</option>";
				foreach ($terms as $term) { 
					$label = (isset($_GET[$tax_slug])) ? $_GET[$tax_slug] : ''; // Fix
					echo '<option value='. $term->slug, $label == $term->slug ? ' selected="selected"' : '','>' . $term->name .' (' . $term->count .')</option>';
				}
				echo "</select>";
			}
		}
	}
}

How to Create Bootable USB Mac OS X installer from Both Windows and Mac

How to Create Bootable USB Mac OS X installer from Both Windows and Mac

Hey guys,

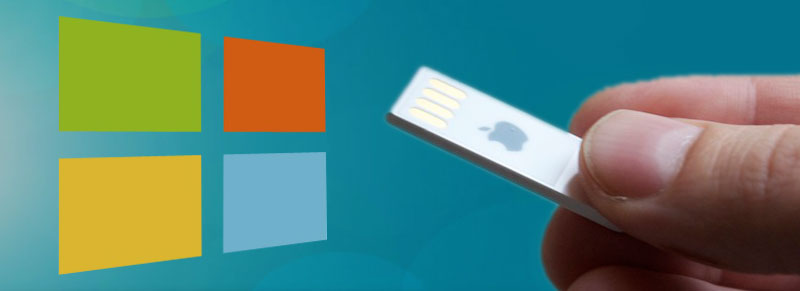
There are many ways to Create Bootable USB mac osx installer, but I am going to explain only useful information here.

I’ll start with the Windows Tutorial…

  1. Downloads: Click here to Download PowerISO with crack.
  2. Installing: Install PowerISO, it’s crack.
  3. Bootabling : Click on Open and select your DMG or ISO file then click on tools—>Create a bootable USB.
  4. Device: Select your device to install it on.
  5. Start: Click on Start and wait until it finishes ( for 4.5 GB it takes about 3/5 minutes….).
  6. Finish!: Congratulations! Now you have a bootable USB media… please if it won’t work by selecting F12 at boot prompt, modify the BIOS to boot the USB before everything!

*** ONLY IF ABOVE WON’T WORK!

  1. File ——-> open ——> select your dmg/iso file.
  2. Right Click on USB device ——> Format with disk image and select your disk image.
  3. Start format and wait…
  4. You now should have your Mac OS X bootable USB!

Mac… It’s Easier

  1. Programs: Open Disk Utility.
  2. Selections: Select the USB you want to make bootable.
  3. Clicks: Click on Erase —–> Format: Mac OS Journaled Name: whateveryouwant
  4. Wait: Wait until it finishes erase….
  5. Selections: Click (on the left) your USB media you have just formatted then click Restore.
  6. Clicks: For Source: Click on Image and select your DMG or ISO image For Destination : drag the USB media from the left to the textbox
  7. Clicks: Click on Restore and wait….. it may take up to 10 minutes…
  8. Finishes: If you note that your file isn’t bootable then download chameleon bootloader or chimera one and install it (with all customizations you need ) to your USB media….

Third Method – Create macOS Bootable USB Installer using SYSGeeker UltraDMG

UltraMDG from SYSGeeker is an easy-to-use application helping you to create a bootable USB installer from macOS without clicks, no command required and risk free. It supports burning 5+ image file to USB flash drive or DVD/CD, including DMG, Bin, Img and Raw and support the latest macOS monterey and big sur.

Step 1. First of all, you need to download and install UltraDMG on your Mac or windows computer, then launch it.


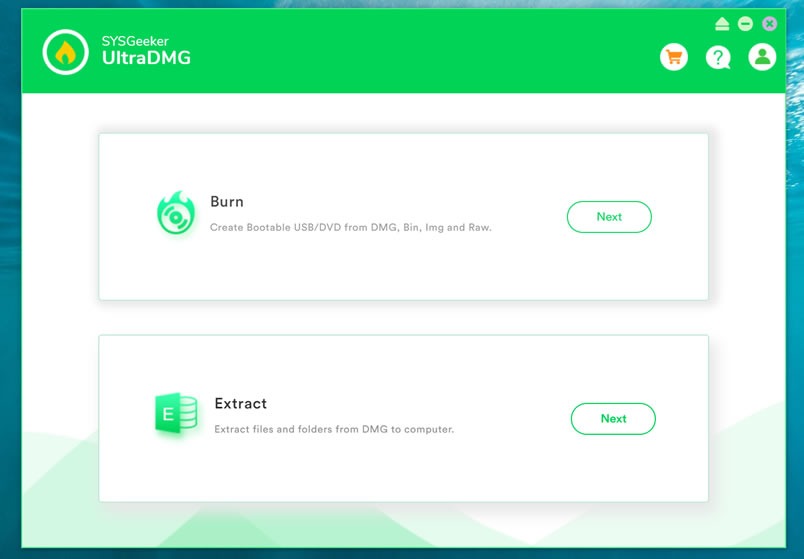
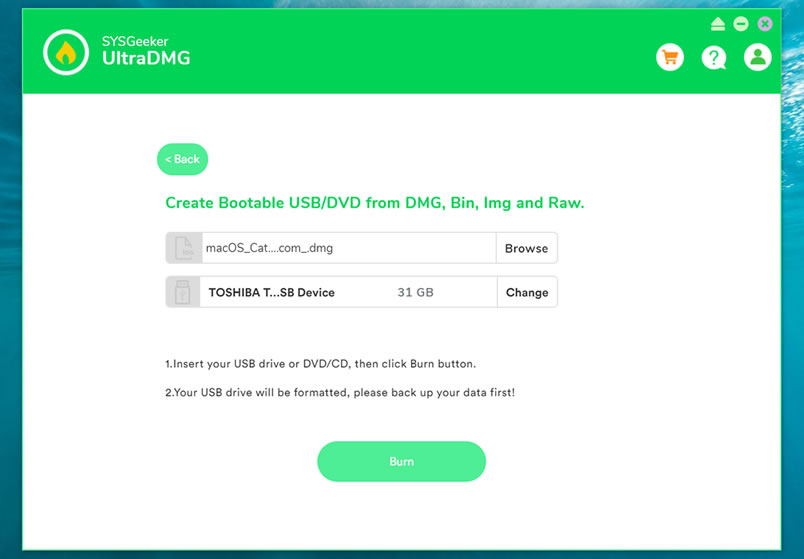
Step 2.  To create a macOS bootable USB drive, you need to select ‘BURN’ option and browse your local DMG file, then connect your USB flash to your computer.


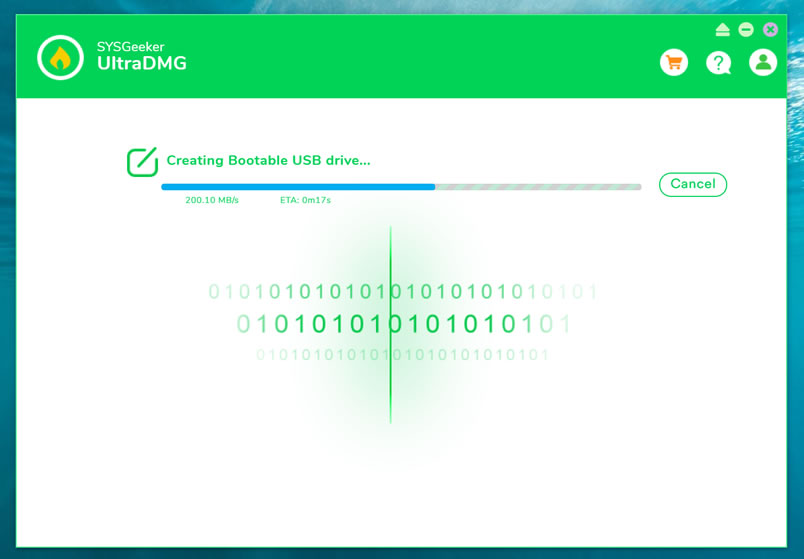
Step 3. It will take about 10 minutes to finish the burning process, please wait it to be completed, and don’t disconnect your USB drive during the burning.


Step 4. When it shows “Burning Completed”, means you’ve successfully created a macOS installer. Now, you can connect your USB to your broken Mac computer and install the new macOS.

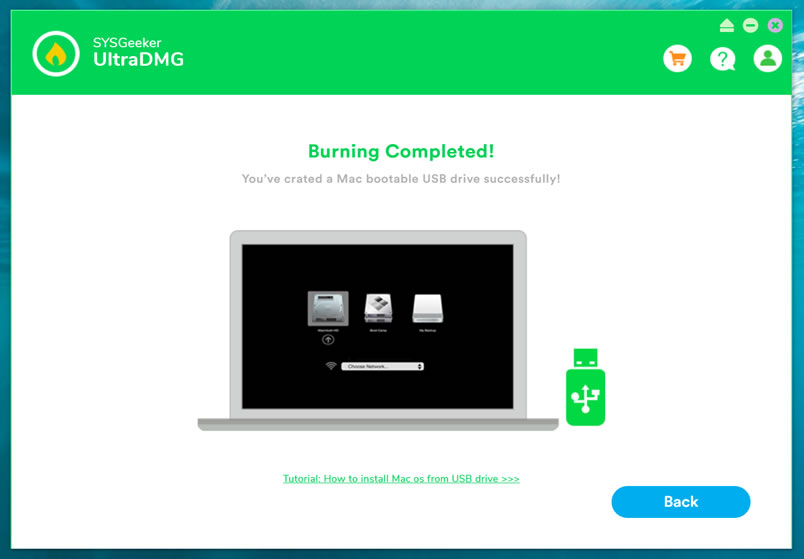
There are numerous situations when a bootable USB macOS installer may come in handy, SYSGeeker UltraDMG will be your best assistant to help you easily reinstall mac system without complicated command line. It allows every novice to reinstall the system by themselves.

I Hope it helps!

*** When I was trying to make a mac OS X usb bootable drive, I googled so much & found many blogs telling me how to make it form running Mac OS. But no one tells, how to make Mac OS X bootable installer pen drive from windows. I hope it will help you.  For any reply or suggestions please comment.

Hide or Remove Word Press admin bar

Hide or Remove Word Press admin bar

WordPress 3.1+ introduced a new feature : the Admin Bar. It is quiet cool and helpful feature. But while developing www.yogeshbabar.com I required to remove it when subscriber is logged in, so that they will not get access to dashboard. Also I have discussed this topic on wordpress.

For my developer friends below I’m going describe many short and simple techniques to hide or to remove WordPress admin bar.

1. Very simple one technique to hide to wordpress admin bar is..

add show_admin_bar(false); i hidden admin menu bar from my web site on front end… using

Below code only shows admin bar on front end for administrator user..
if other than admin user logs to web site then admin bar will not be displayed…

i added below code to my themes header yogeshbabar420.com..


<!--?php <br ?--> global $user_ID;
if( $user_ID ) :
if( current_user_can('level_10') ) :
show_admin_bar(true);
else : { show_admin_bar(false);
echo '</pre>
<style type="text/css"><!--
html{margin:0 !important;}
#wpadminbar{display:none; visibility: hidden;}
--></style>
<pre>
'; }
endif;
endif; ?>

user check …. hide for all
hide for perticular user

For my non-developer friends below only one short and simple technique to hide or to remove WordPress admin bar.

Simply use a plug-in named as Global Hide/Remove Toolbar Plugin and bye-bye to Word press admin bar. This plugin let you easily add a global option to hide/remove the front end Toolbar for logged in users for WP 3.1+ .

Download Global Hide/Remove Toolbar Plugin